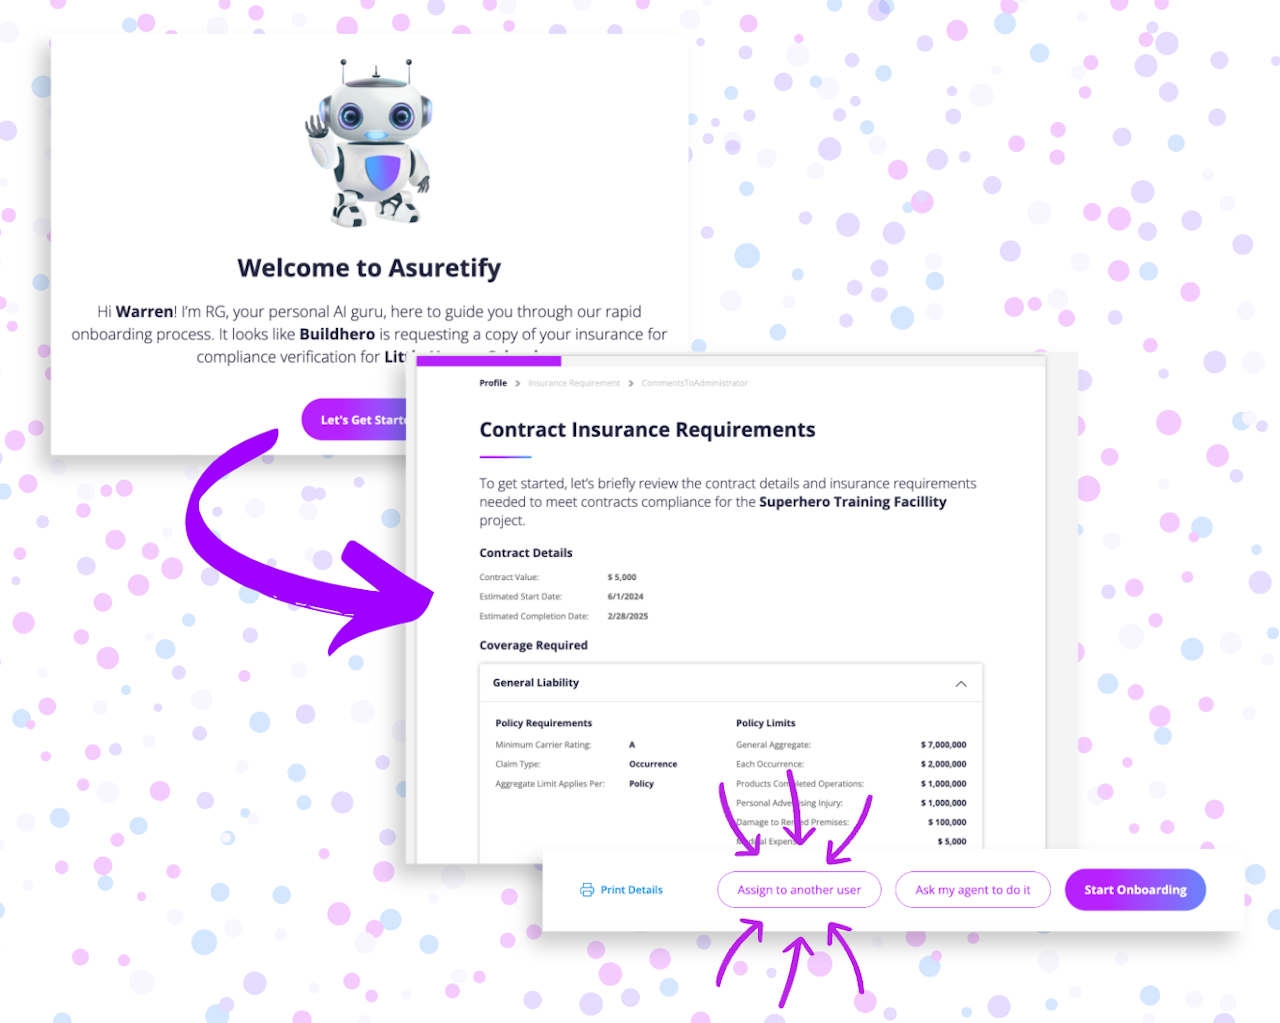


Assign Contract to Another User
Want to accept a contract but have someone else handle coverage verification? You can assign another user to upload coverage details for verification with a few easy steps:
From your email notification, click "Get Started". This will take you to Asuretify to set up your account.
After setting up your account, review the insurance requirements for the assigned contract. From there, click "Assign to Another User"
When assigning another user, a side drawer opens and walks you through adding a user.
Type details including their first name, last name, and email address into their respective fields, then select the department to assign access.

Configure Security Group Settings
Selecting the security group settings is next. This is setting the permissions of what the added user can do in Asuretify. You can name the security group, select the role (insured, requestor, or agent), then assign the permissions for what they can do.
After setting up this security group, then select this group to assign.

Assign to User
You've selected the security group, now assign it to the desired user.
After, you can add a comment for this added user and then hit "Submit". This optional feature allows you to include a note or directions for this user

