

Creating a Project
Projects are the different areas of your work that require contractors or other individuals to carry specific insurance coverages in order to provide services or work.
To add a project, use the sidebar menu to navigate to the 'Projects' section, then click 'Add Project' at the top of the screen.
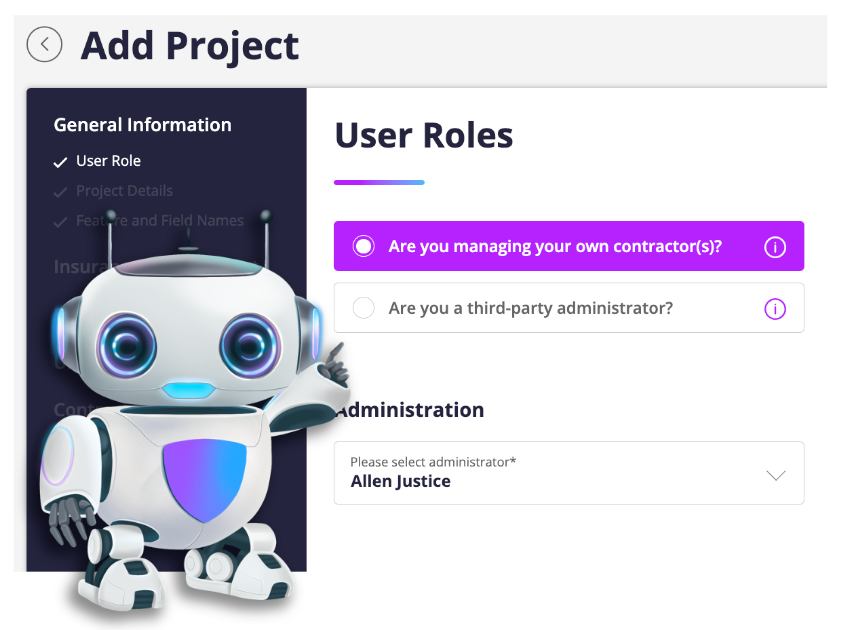
Next, select your role:
If you are the sponsoring company and will be managing your own contractors, select the first option
If you are managing contractors on behalf of a sponsoring company, select the third-party administrator option (You will need to provide the name of the sponsoring company if this option is selected)
Select the name of the administrator that will be managing the contractors for this project.
Click the drop-down to select or add an administrator. To add an administrator, provide their first name, last name, and email address

Project Details
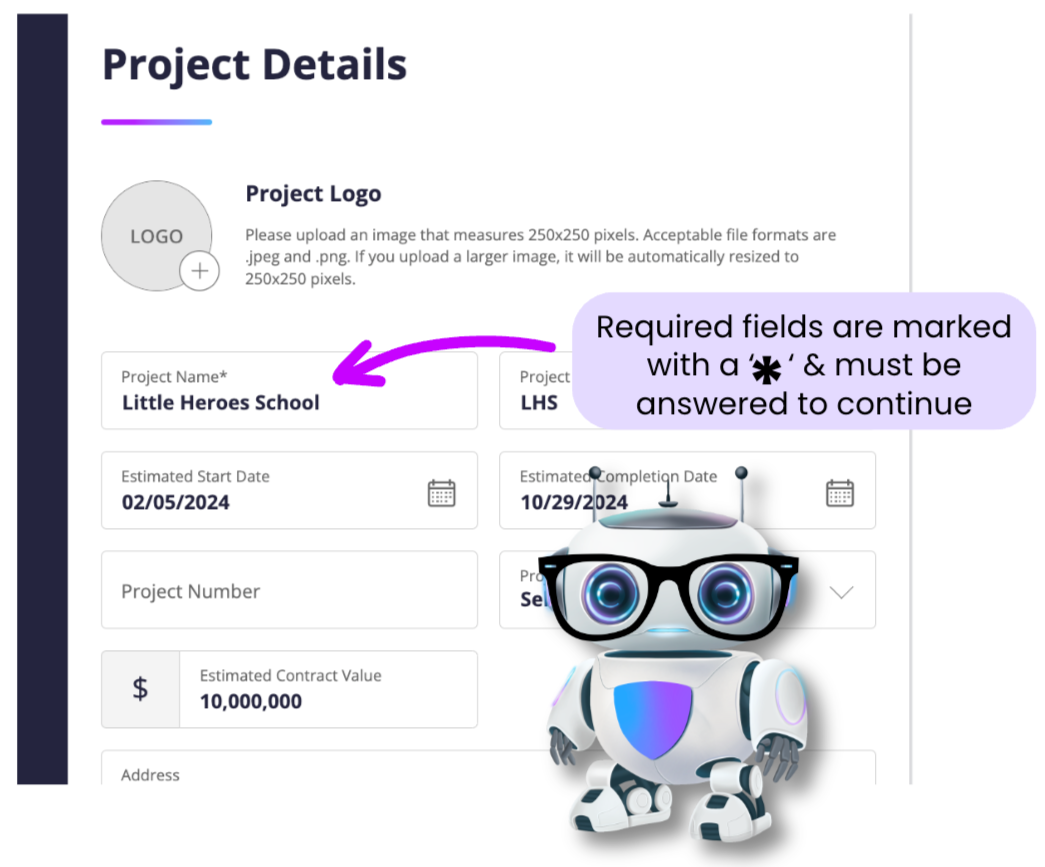
Provide the following project details to ensure you stay as organized as possible. This includes:
Project name
Project alias (initials up to 3 letters)
Estimated start and completion dates
Project type (commercial, residential, mixed use, or schools, or create your own type)
Estimated contract value
Address of the project
Verify currency type for the value

Feature & Field Names
This section allows you to customize settings related to field names & requirements, tracking downstream risk, and enable onboarding on behalf of the contractor invited to provide coverage details for this project.
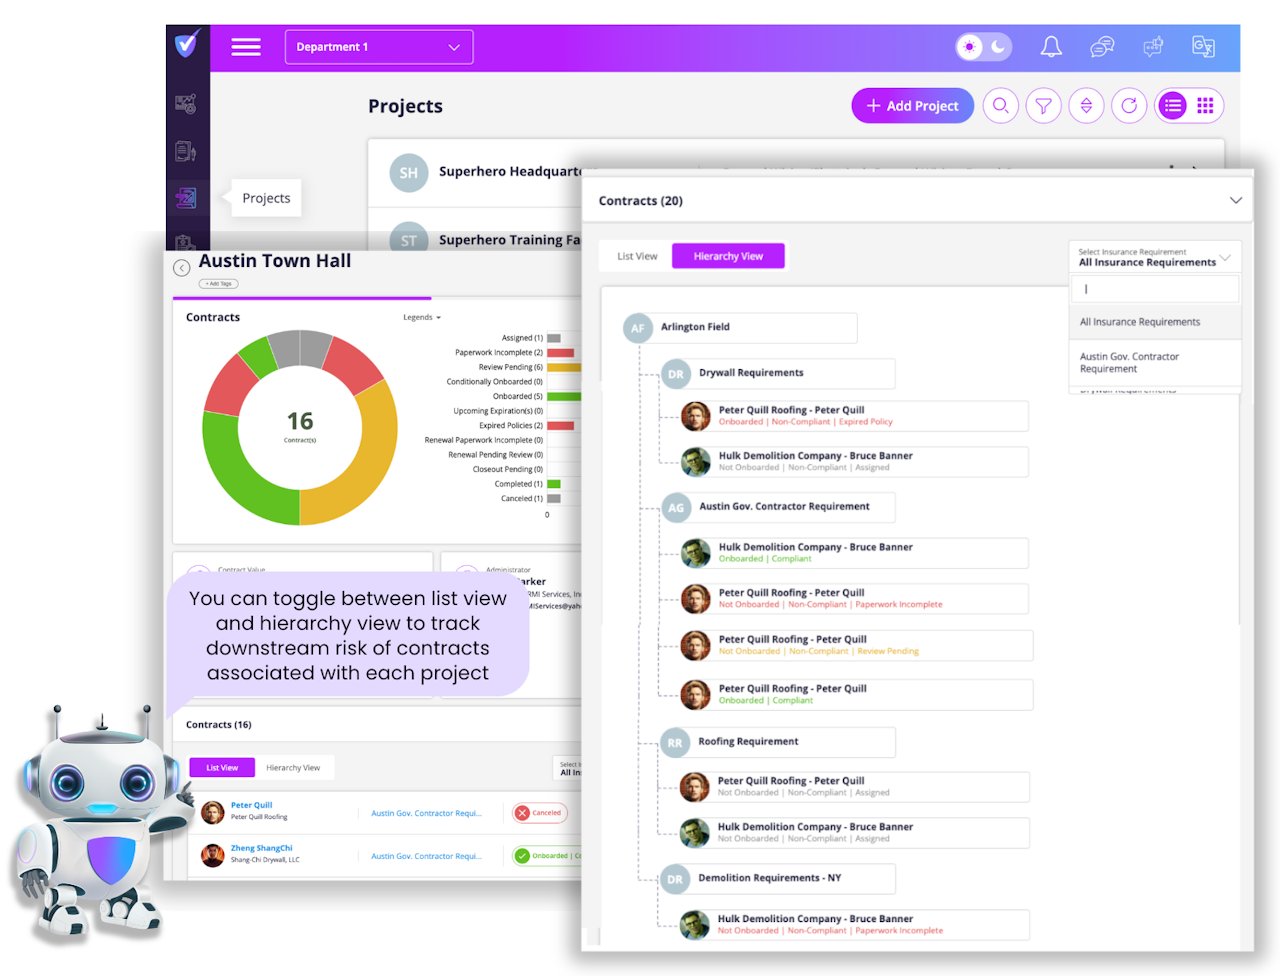
Tracking Downstream Risk, when enabled, allows you to track the hierarchy of companies within a given project. You can turn this feature on or off as well as rename the “Downstream Risk” field.
Selecting the 'Field Names' tab opens the customization fields to rename field names, disable a field, or mark it as required-meaning the individual onboarding must provide those details to continue.

Insurance Requirements Formatting
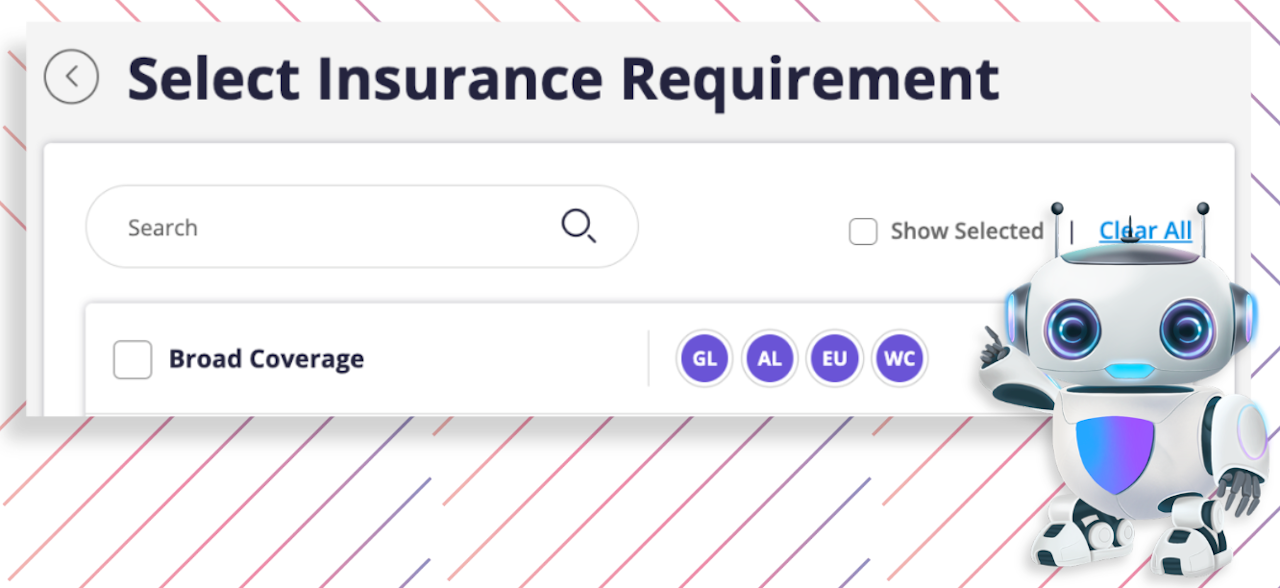
You can select if multiple insurance requirements will be needed for the completion of this project as well as making the selection of needed requirements. If you do not see the needed requirement, you can add that by selecting the 'click here' section to add the additional requirements. When your selections have been made, click 'Submit' to verify the correct requirements were added. If you added a requirement by mistake, select the 3 stacked dots next to that requirement and then 'Remove'. When you are ready to move on, click 'Save & Continue'.
For more information, you can continue reading about Project related emails or Creating Insurance Requirements by clicking below:
